Introduction to Screenshot testing with Paparazzi.

Screenshot testing can be a powerful tool, but it can also wreck your tests - here's how to use it properly.
Introduction
You’ve probably heard about screenshot testing but haven’t tried it. Or you tried it and it broke everything in your workflow, so you decided it was a bad idea. There’s a lot of hype around the topic, and many teams seem to be adopting this type of testing into their workflow. Integrating screenshot testing is fairly easy. What’s NOT easy is applying it properly without messing up your development process.
In this article, we’re going to look at :
- What screenshot testing is
- How to integrate it into your project and CI
- How to write screenshot tests that add value to your project
- Where you should avoid it
Ok, first let’s look at what it is. The code that we’ll be using in this article can be found here: https://github.com/nsmirosh/ScreenshotTestingSample
What is screenshot testing?
Screenshot testing is simply the process of comparing your views with the reference images stored previously. It’s literally the process of comparing images pixel by pixel. After you have the reference (Golden value) screenshots in place, you can then run the tests to see whether your UI is looking different from what you intended. After running the tests, you will get a report with the “diffs” between your pre-recorded “golden value” and what’s actually happening in your UI.
Where screenshot testing works well.
Screenshot testing should be used for catching regressions in your UI.
In general, it is really useful when:
- You have components that don’t change often
- You have a shared design system or component library where one change can influence many different “consumers”.
- Your app supports multiple themes, locales, fonts, or screen sizes — scenarios where it’s not realistic to check everything manually.
- You’re refactoring infrastructure, and you don’t expect anything to change visually.
Where it’s a pain:
While screenshot testing may be useful in situations described above, it can also lead to very brittle tests if applied incorrectly. Do NOT use screenshot testing for:
- Validating complex screens that change often.
- Validating behavior of your components (you can’t do that with screenshot testing any way).
- Anything that a Unit or a UI test will catch instead. Unit and UI tests are far less costly in terms of maintenance than screenshot testing.

The tools
There are maaany libraries for screenshot testing. Here’s a list of just a few:
- Google Compose Preview Screenshot Testing tool
- Cashapp Paparazzi
- Roborazzi from takahirom
- Dropbox Dropshots
- Shot from pedrovgs
- Ndtp Android-testify
- Facebook screenshot-tests-for-android
- QuickBird Snappy
This list is taken from Segio Sastres’s screenshot testing playground . Make sure to check it out as well if you want to learn about different frameworks.
I’ve tried 3 of them: Paparazzi, Roborazzi and Google’s own screenshot testing library. Google’s library is still in the early alpha - so I don’t consider it a viable production library. And Roborazzi - I don’t have anything against it, but I’m always happy to use a library that is developed by Square. So I’ll be covering Paparazzi.
Deciding what to test
I’ll show the appropriate scenarios for using screenshot testing and how they can make your life harder if you do it wrong.
Let’s say we’re building an app that tracks the top 20 users of StackOverflow by rating, and we can follow and unfollow them.
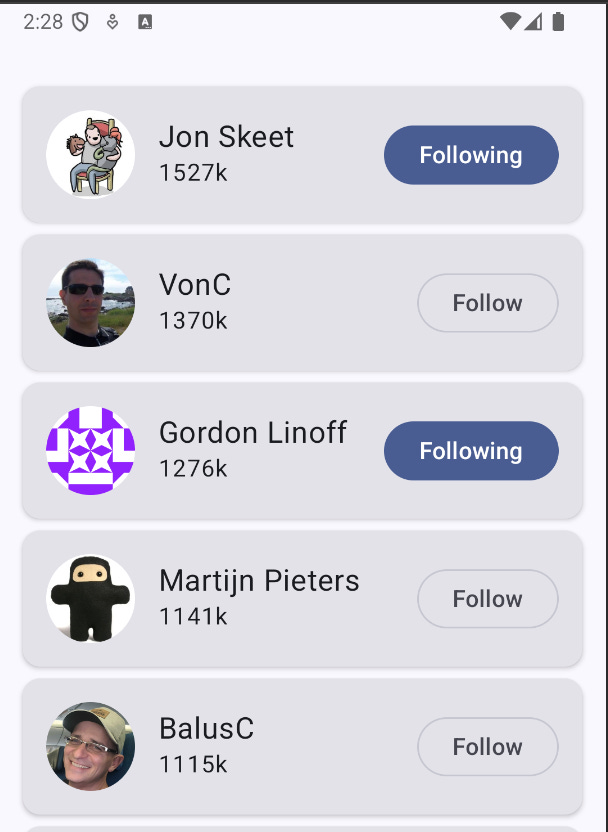
Some scenarios where we can apply screenshot testing to a single list item:
- Following / Not Following + Short / Long name
- Image Loading Error / Placeholder
- Light / Dark Theme
- Large font scale
Each of these can catch a real regression, and none of these states are subject to frequent change in our app.
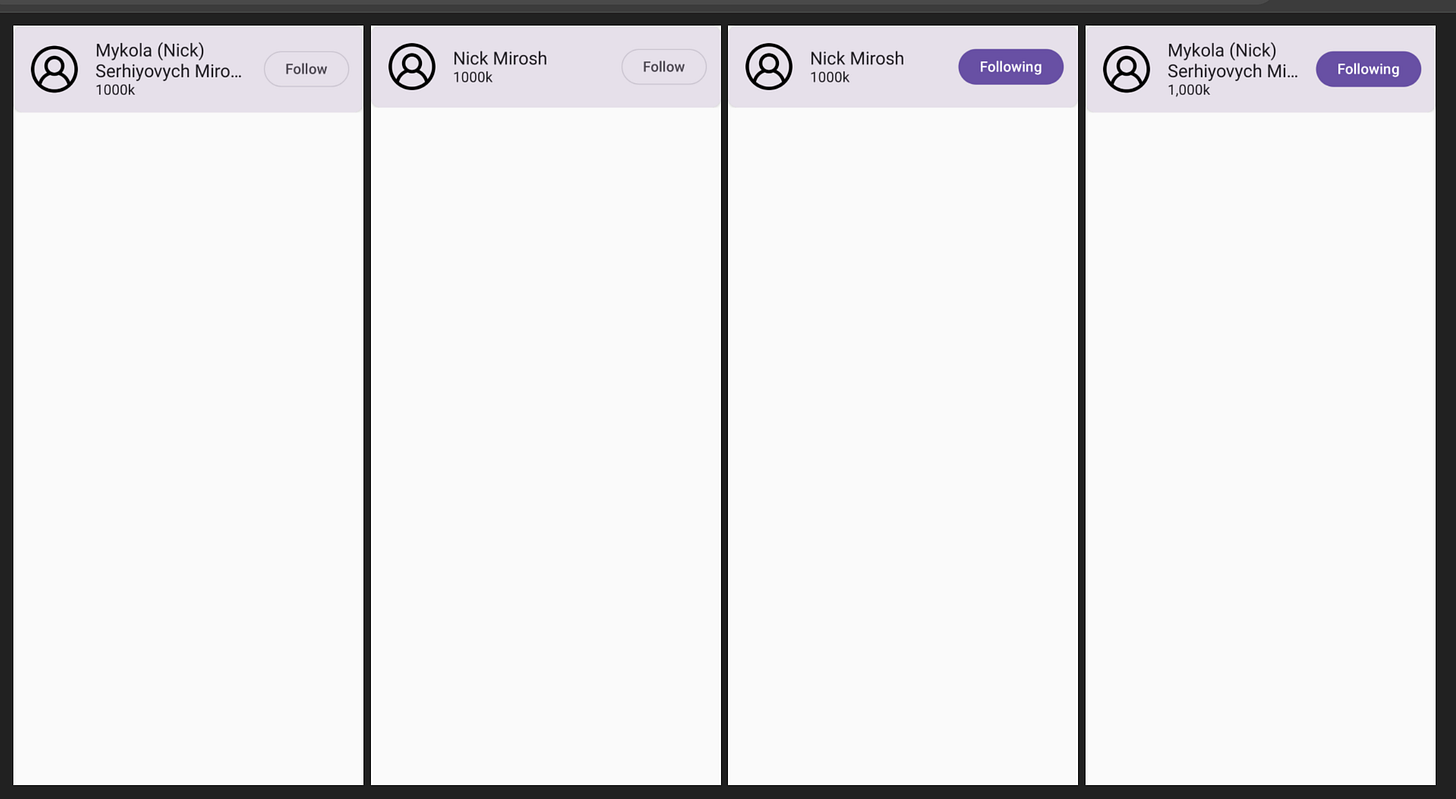
Here are the previews generated for Following / Not Following states:

Now let’s implement the actual tests.
Set up
First, we need to set up Paparazzi.
As of the time of writing of this article, Paparazzi doesn’t support Gradle 9.3.0 and higher, so for this example, I’m using Gradle 9.2.1. If you use anything above you might run into problems https://github.com/cashapp/paparazzi/issues/2227 ``
My gradle-wrapper.properties set up looks like this:
distributionSha256Sum=72f44c9f8ebcb1af43838f45ee5c4aa9c5444898b3468ab3f4af7b6076c5bc3f
distributionUrl=https\\://services.gradle.org/distributions/gradle-9.2.1-bin.zip
After modifying Gradle, go ahead and import the Paparazzi plugin into your app-level build.gradle:
plugins {
  id 'app.cash.paparazzi' version '2.0.0-alpha04'
}
Paparazzi docs are here.
Building the tests
Paparazzi supports multiple testing frameworks . For our example, we’ll use the good ol’ JUnit.
Building tests is simple. We want to take snapshots of the 4 states of the Composable as we mentioned above. And this is what it looks like:
package dev.mirosh.topusers.ui.screenshots

import app.cash.paparazzi.DeviceConfig.Companion.PIXEL_5
import app.cash.paparazzi.Paparazzi
import dev.mirosh.topusers.ui.main.ListItemWithLongNameFollowing
import dev.mirosh.topusers.ui.main.ListItemWithLongNameNotFollowing
import dev.mirosh.topusers.ui.main.ListItemWithShortNameFollowing
import dev.mirosh.topusers.ui.main.ListItemWithShortNameNotFollowing
import org.junit.Rule
import org.junit.Test

class ScreenShotTest {

    @get:Rule
    val paparazzi = Paparazzi(
        deviceConfig = PIXEL_5,
        theme = "android:Theme.Material.Light.NoActionBar",
    )

    @Test
    fun testListItemWithLongNameFollowing() {
        paparazzi.snapshot {
            ListItemWithLongNameFollowing()
        }
    }

    @Test
    fun testListItemWithLongNameNotFollowing() {
        paparazzi.snapshot {
            ListItemWithLongNameNotFollowing()
        }
    }

    @Test
    fun testListItemWithShortNameFollowing() {
        paparazzi.snapshot {
            ListItemWithShortNameFollowing()
        }
    }

    @Test
    fun testListItemWithShortNameNotFollowing() {
        paparazzi.snapshot {
            ListItemWithShortNameNotFollowing()
        }
    }
}
Each test takes a screenshot of the Previews that we have defined previously. After we have our tests set up, we need to record the “Golden” reference images - i.e. the images we will run our tests against. To record the references, we run the following Gradle task:
./gradlew :app:recordPaparazziDebug
Make sure to replace app with the name of your module if it’s different
The generated report will land in app/build/reports/paparazzi/debug/index.html
and the individual screenshots in src/test/snapshots . Here’s what index.html looks like:
To make sure your tests and previews render the same images you can use Coil’s FakeImageLoader for testing with Coil. And you can use AsyncimagePreviewHandler for rendering Previews.
Running the tests
Ok, we have the tests set up, now let’s actually run them using the following command: ./gradlew :app:verifyPaparazziDebug
This command will take a snapshot of the current state of our views - and will compare them to the “golden” pre-saved images from the previous command.
You will see the report with the diffs between the “Golden” image and the actual result in app/build/reports/tests/testDebugUnitTest/index.html
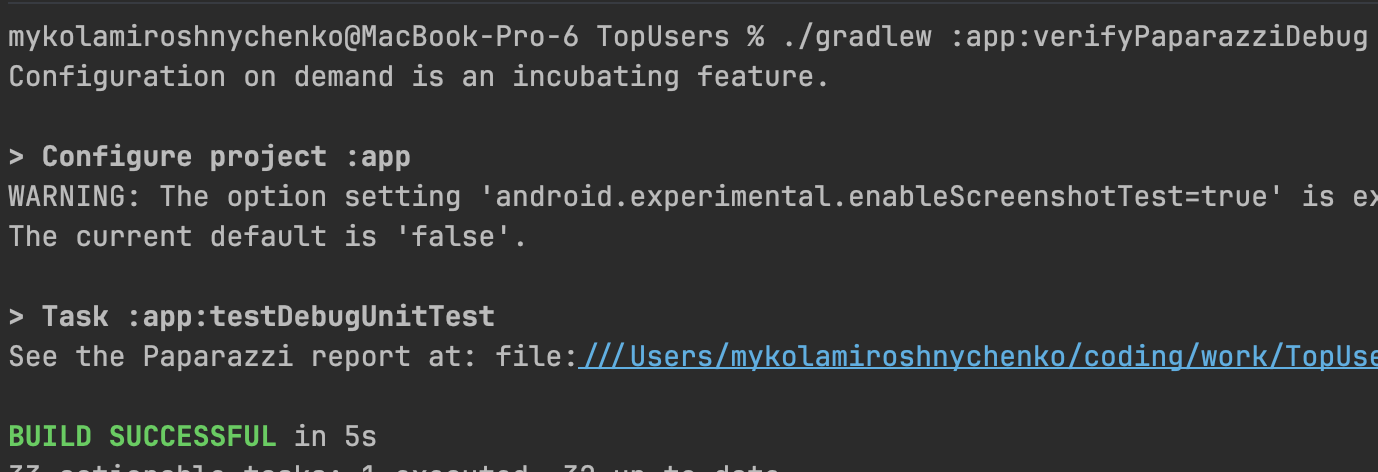
Obviously, the test succeeded - cause we’re comparing identical images. Nothing really interesting to see here. Now, let’s break our test.
Breaking the tests
Let’s say that we decided to allow 3 lines for the name instead of 2 - just in case of a super extra long name like mine. So with that change - this is how the super long name will look like:

Let’s run the tests again. And as expected, two tests with long names fail.
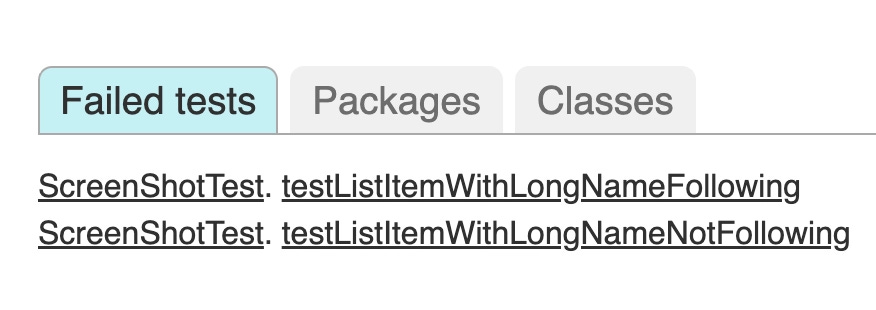
And if we click the first test, we’ll see a long stack trace. However, what we care about is this:
java.lang.AssertionError: Images differ (by 1.282920%) - see details in file:///Users/mykolamiroshnychenko/coding/work/TopUsers/app/build/paparazzi/failures/delta-dev.mirosh.topusers.ui.screenshots_ScreenShotTest_testListItemWithLongNameFollowing.png
This comment is self-explanatory. Our images differ by 1.28%. But that doesn’t tell us anything in terms of what exactly failed. Let’s open the file path with the details:
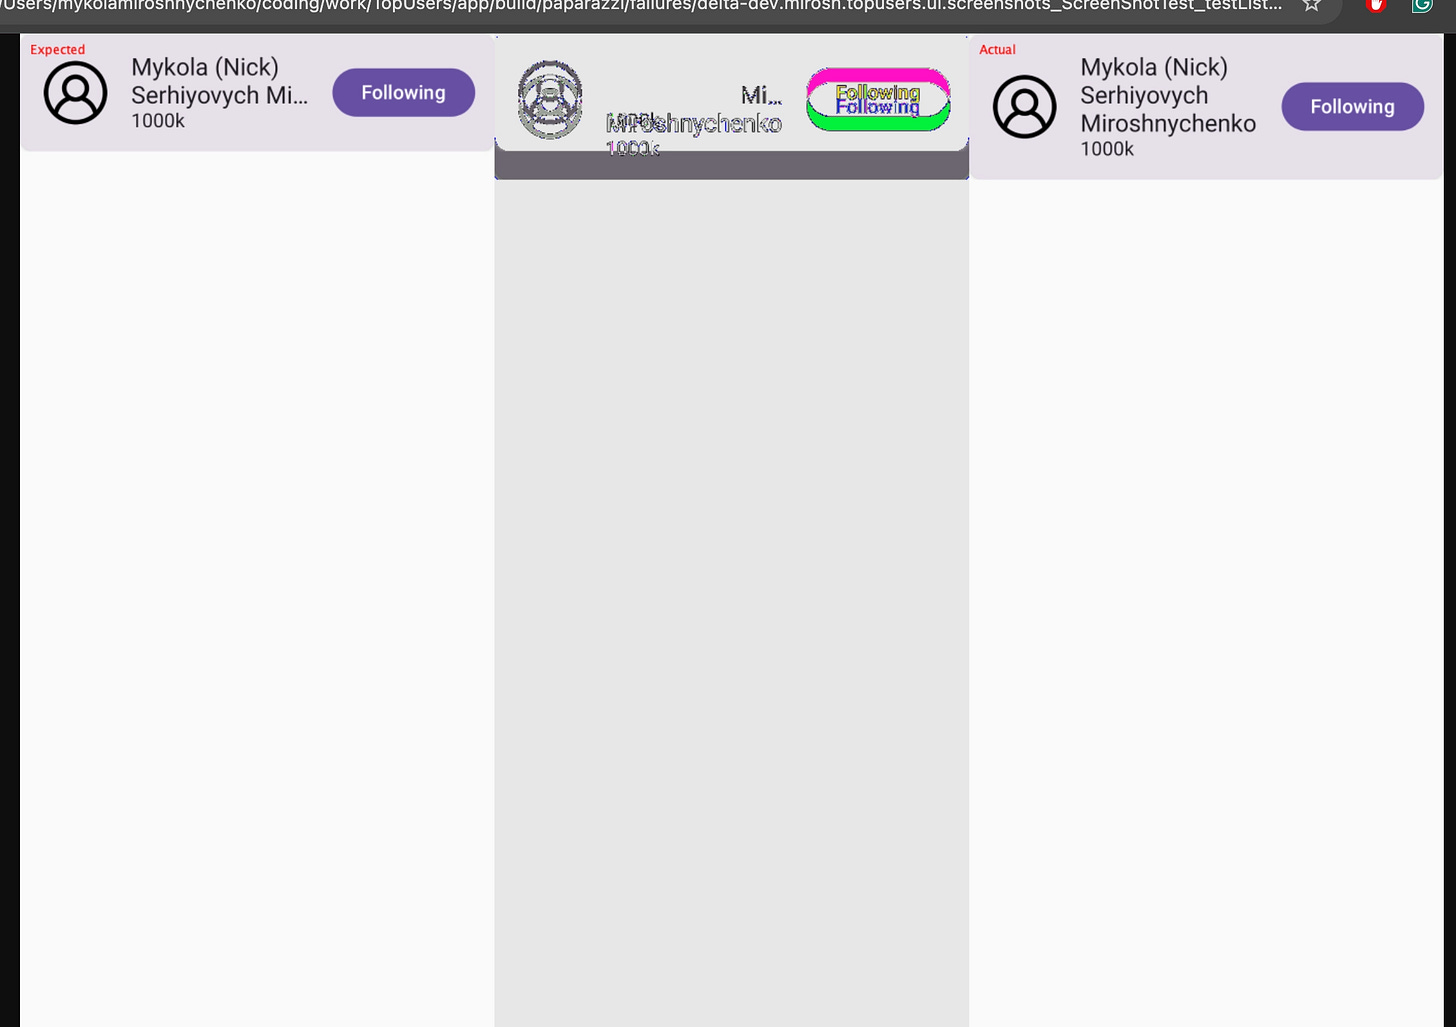
But… the difference between our Composables is huge - why does it say that it’s only ~1% difference?
“Shrinking” Composables
Currently, our tests are set up to render the whole screen with our Composable. That’s why we get only 1% difference between our screenshots. To fix this, we need to apply a SHRINK rendering mode to our Test Rule. By applying this argument, Paparazzi will record only our Composable without rendering the full screen:
    @get:Rule
    val paparazzi = Paparazzi(
        deviceConfig = PIXEL_5,
        theme = "android:Theme.Material.Light.NoActionBar",
        renderingMode = RenderingMode.SHRINK
    )
We’ll need to re-record our Golden images and run the tests again:
./gradlew :app:recordPaparazziDebug
./gradlew :app:verifyPaparazziDebug
If we open the generated report, we’ll see:
java.lang.AssertionError: Images differ (by 14.988646%) - see details in file:
Now this is much closer to the truth.

And this leads me to my next point…
Tiny differences will cause failures
Now, 15% is a lot, and such a test should fail. But what if somewhere along the way, we decide to format the rating of our StackOverflow users? In cases where we have a short name, we want to display 1,000k instead of 1000k .
If we make this change, our tests will still fail - even though the difference will be an insignificant 0.32% (I ran it for you to save the reading time).
So, how can we add a bit of leniency for such cases? By default, the “margin error” for Paparazzi tests is 0.1%, or 0.1 . But, if for some reason you have a flaky test, you can adjust this by tweaking the maxDifferencePercentage parameter:
    @get:Rule
    val paparazzi = Paparazzi(
        deviceConfig = PIXEL_5,
        theme = "android:Theme.Material.Light.NoActionBar",
        renderingMode = RenderingMode.SHRINK,
        maxPercentDifference = 2.0 // 2% diff allowed
    )
With this change, any tests that have a deviation of 2% between the Golden image and the test image will succeed.
But! Use this option sparingly! In fact, try to avoid using it at all. If you do have to use it - it’s best to isolate the flaky test into its own test class, because passing maxDifferencePercentage it to our Rule will apply it to all of our tests, and we don’t want that.
Conclusion
Screenshot testing is a great tool for catching visual regressions in your app. It can help you verify parts of your app/codebase that are hard to meaningfully test with UI or Unit tests. It’s also extremely easy to set up.
However, while this type of testing is undoubtedly useful, it can also be very brittle if set up incorrectly. So make sure you’re very careful in choosing Composable / Views that will not change often and don’t have many elements. Also, remember that other types of testing tend to be “cheaper” in terms of maintenance, so do not treat this as a silver bullet for UI testing.
In the next article, I’ll explore how you can integrate screenshot testing into your CI without bloating your repository by using Git LFS.