Setting up Android screenshot testing in CI with Git LFS.
In the previous article, we looked at how to integrate screenshot testing with Paparazzi, how to create tests that are not brittle, and how we can use certain parameters to make our tests more effective.
In this article, we’ll look into another problem associated with screenshot testing - more specifically, storing the screenshots remotely. As your app grows and gets more complex, so does the number of your screenshot tests. If you’re working on a real production application, the number of images taken can easily spike into hundreds or even thousands.
Storing thousands of images in your repository is a bad idea. This will bloat your repository size, and you’ll run into problems with your remote repository provider. To solve this problem - we can use Git LFS.
Here’s a high-level overview of what we’ll do:
- Understand how Git LFS works
- Install Git LFS
- Track Snapshots with LFS
- Migrate existing screenshots to LFS
- Configure CI to use Git LFS and produce a report
How Git LFS works
LFS stands for Large File Storage. Usually, LFS is used in the gaming industry, because the assets they use can easily exceed Gigabytes or even tens of Gigabytes For this purpose Git LFS was invented.
Most Remote Git Servers will limit your push file size to 50 or 100 Mb per push. And the limit for repo size on free plans can be 1 or 2 GB. Since screenshots are big files by Android standards, it’s best to allow LFS to handle this.
Here’s a diagram of how Git LFS works:
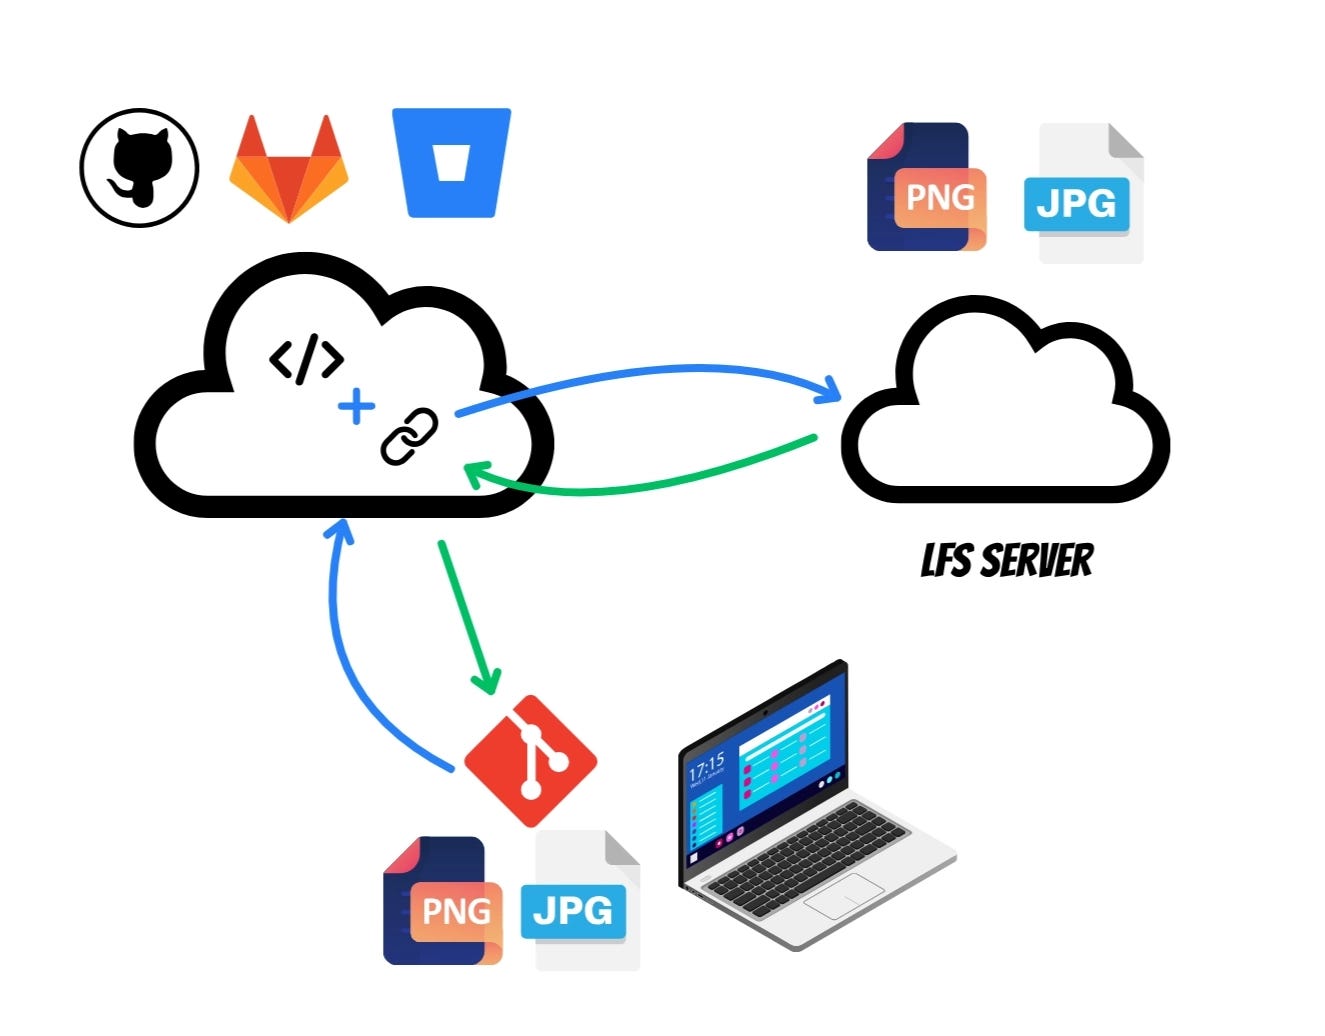
When you push your large files with LFS - the remote repository will transfer these large files to an LFS server and will then only store references or pointers to the actual files in the codebase.
So the files themselves live locally on your machine and on the LFS server.
When you need to retrieve from the remote repository - the opposite happens. The remote repo will looks through the “pointers” it has and will query the actual files from the LFS server. Then it will transfer them to your machine.
The great thing about this is that you don’t need to worry about all of this complex set up. This is all handled by remote repo providers like Github, GitLab, Bitbucket and others.
Installing Git LFS
The installation is super simple. Simply run:
git lfs installNow we need to make LFS track the files that we want uploaded to the LFS server. In our case, it’s going to be PNG files stored in the tests → snapshots → images directory. We could specify to track specifically the files in the snapshots directory, but for simplicity, we’ll simply store all PNG files in LFS:
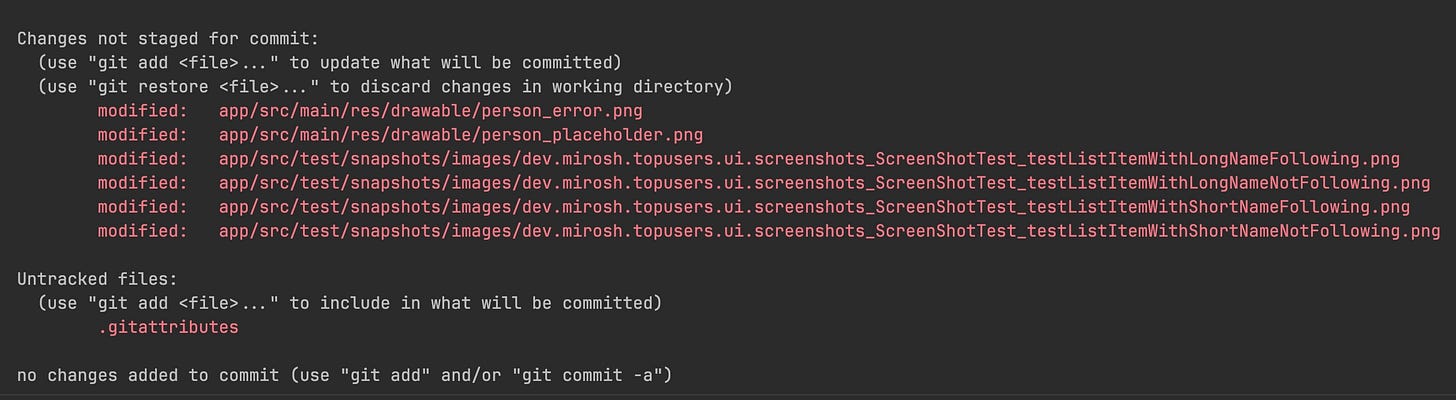
git lfs track "*.png"Now running this command will start tracking files that you have NOT committed yet. Which means that we’ll need to manually “import” the existing snapshots that we already have from previous tests.
After running this command, you should see the .gitattributes file. This is the actual configuration file that tells git what to do with PNG files in your repository. Also, if we check the staging status of our file in Git with git status we’ll see that all of our PNGs have become “staged for commit”:
Let’s go ahead and add them to our commit and push to our repo with git push . If all is well, you’ll see this in your terminal:
git p
Uploading LFS objects: 100% (6/6), 162 KB | 0 B/s, done.
Verifying our LFS works
Now, to confirm that Git is no longer tracking our PNGs but only has a pointer to them, we can ask it to show the contents of the “PNG file” that we have. So let’s ask it to show any of the 4 screenshots that we have by running this command:
git show HEAD:app/src/test/snapshots/images/dev.mirosh.topusers.ui.screenshots_ScreenShotTest_testListItemWithLongNameFollowing.pngWhich will show us 3 lines:
version <https://git-lfs.github.com/spec/v1>
oid sha256:fbdc1fc6eaf974dfaa6a7522a2f7e2db4d49d9b0f41c132d4a589601e23aa27d <- our pointer
size 41554 <- size of the image on the LFS server
Configuring our CI to work with LFS files
By default, CI tools that you use will actually check out the pointers to the LFS files, instead of the files themselves. But for our screenshot testing to run on the CI - we need to reference the actual files behind these pointers. Luckily, this is super easy.
In your .yaml file add the lfs:true line to the checkout repository action:
steps:
  - name: Checkout repository
    uses: actions/checkout@v4
	    with:
	      lfs: true
For our demonstration, I will use GitHub Actions to run the pipeline. Here’s the full list of steps in my .yml file:
    steps:
      # Checks-out your repository under $GITHUB_WORKSPACE, so your job can access it
      - name: Checkout Repo
        uses: actions/checkout@v4
        with:
          lfs: true

      - name: Verify Paparazzi screenshots
        run: ./gradlew :app:verifyPaparazziDebug

      - name: Upload Paparazzi failure report
        if: failure()
        uses: actions/upload-artifact@v4
        with:
          name: index.html
          path: app/build/reports/tests/testDebugUnitTest/
          if-no-files-found: ignore
The last step upload the report as an artifact in case of test failure. Make sure to, of course, adjust this script according to the names of your build variants.
Running the tests on CI
Paraparazzi will only generate a report in case there is a failure of some test. So to confirm that our screenshot tests work on Github Actions, we’ll change some of our UI. In our ListItemWithShortNameNotFollowing() Preview Composable I’ll just change it to following :
@Preview
@Composable
fun ListItemWithShortNameNotFollowing() {
    val userUIModel = UserUiModel(
        id = 1,
        displayName = "Nick Mirosh",
        reputation = "1000k",
        profileImage = "",
        following = true // <- Changed
    )
    ListItem(user = userUIModel) {}
}
Now, let’s make a commit and push, and observe our pipeline…
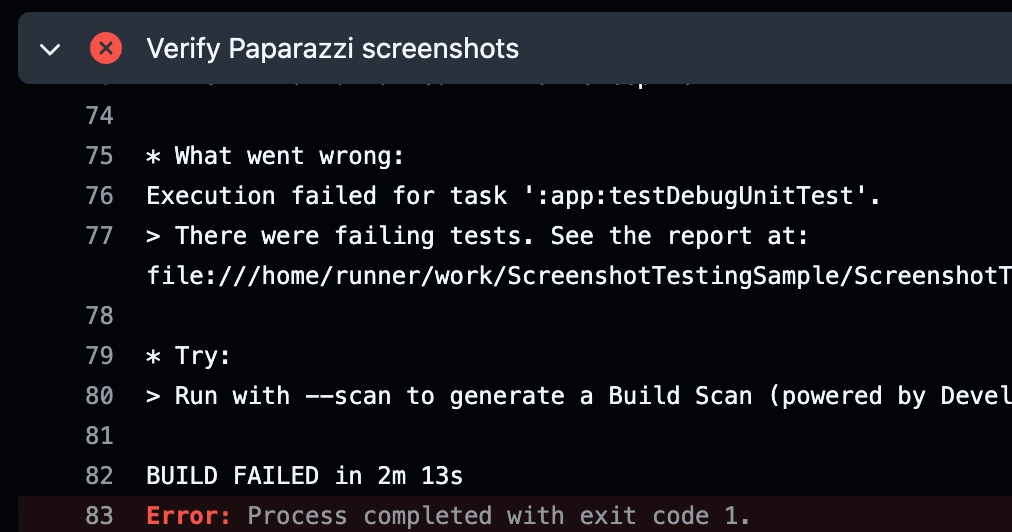
Our ./gradlew :app:verifyPaparazziDebug task fails as expected, it will produce a report. Then our next task runs:

And we get an artifact download URL:
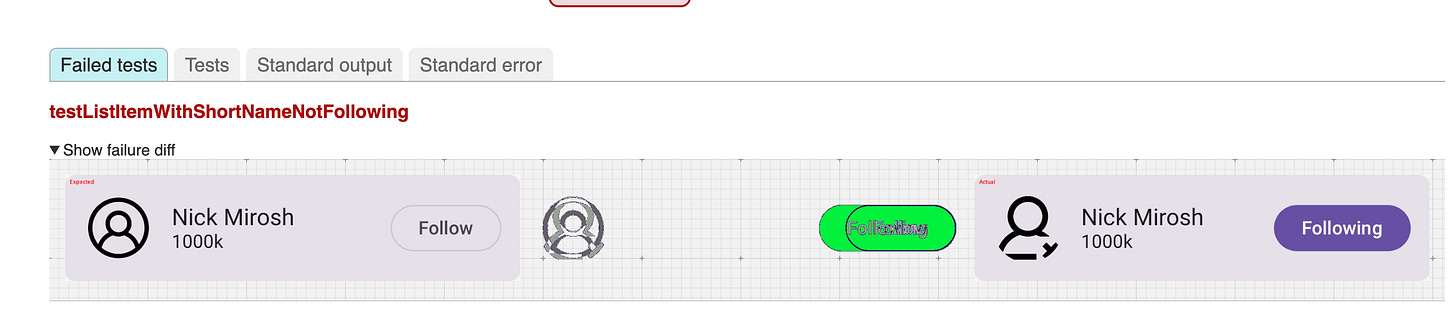
Artifact download URL: <https://github.com/nsmirosh/ScreenshotTestingSample/actions/runs/26213027963/artifacts/7130214525>And after unpacking the archive and opening the index.html we get our good ol’ report:
Conclusion
And there you have it. In these two articles, we have covered everything from the basics of screenshot testing, all the way up to deploying it on your CI.
Screenshot testing definitely has its place in your day-to-day Android development. It can make your life easier during migrations, catching subtle regressions and testing scenarios you wouldn’t physically be able to test.
However, this type of testing also comes with the dangers of creating flaky tests. Screenshot testing should not be the core of your test suite.
All in all, it’s one of the “funnest” ways of verifying your UI, considering how explicit the visuals are. I urge you to integrate it into your project and play around with it - you now have everything you need to do that!